Error Handling & Debugging
It's super hard to get everything right the first time, trust us, we know! This could be due to typos, wrong logic, or other unforeseen issues from external services. In such cases, it's important to handle errors gracefully and provide useful feedback to users.
Error Screens
When an error occurs in your Leaf application, you want to make sure that you see a friendly error message with a trace instead of a raw error dump. This error screen gives you some context about the error and what might have caused it.
It also adds information about your application's current context:
- Application environment (development, production, etc.)
- Request information (server data, method, headers, etc.)
- Files, cookies, session info, and more.
Which is why we recommend that you always turn off error reporting in production, so you don't accidentally leak sensitive information about your application.
Disabling Error Reporting
While Leaf's detailed error reporting is super useful during development, it's not something you want to use in production, as it can expose sensitive information about your application. You can disable error reporting by setting the debug config to false or by setting the APP_DEBUG environment variable to false in Leaf MVC.
app()->config([
  'debug' => false
]);APP_DEBUG=falseWhen you set debug to false, Leaf will automatically turn off error reporting and display a custom error page to users. You can customize this page using Leaf's setErrorHandler() method.
app()->setErrorHandler(function () {
  echo "<h1>My custom error page</h1>";
});
We understand that you might want to enable debugging in production for some reason, however, doing that can expose sensitive information about your app, which can be used by attackers to exploit your app. If you truly need to debug in production, you should turn to logging instead.
Logging
Logs are records of events in your application. They capture significant things like errors, requests, or user actions, helping you track your app's behavior. Log files are essential for debugging and understanding production issues. A typical log file looks like this:
[2021-03-31 22:44:53]
ERROR - ErrorException: Trying to access array offset on value of type int in /home/mychi/Projects/leafphp/leaf/src/Experimental/Cache.php:83
Stack trace:
#0 /home/mychi/Projects/leafphp/leaf/src/Experimental/Cache.php(83): Leaf\Exception\General::handleErrors()
#1 /home/mychi/Projects/leafphp/leaf/test/index.php(45): Leaf\Experimental\Cache::get()
#2 [internal function]: {closure}()
#3 /home/mychi/Projects/leafphp/leaf/src/Router.php(337): call_user_func_array()
#4 /home/mychi/Projects/leafphp/leaf/src/Router.php(392): Leaf\Router::invoke()
#5 /home/mychi/Projects/leafphp/leaf/src/Router.php(443): Leaf\Router::handle()
#6 /home/mychi/Projects/leafphp/leaf/src/App.php(863): Leaf\Router::run()
#7 /home/mychi/Projects/leafphp/leaf/test/index.php(52): Leaf\App->run()
#8 {main}Leaf offers a user-friendly logger for logging errors and other stuff in your app. It's integrated with Leaf's core, so no initialization is required, and you may not need to use the logger directly.
Manually Installing Logger
Leaf's logger is included by default when you create a new Leaf MVC project, but if you're using Leaf without Leaf MVC, or previously uninstalled the logger module, you can manually install it by following the steps below.
leaf install loggercomposer require leafs/loggerConfiguration without Leaf MVC
Once you have installed the logger module, you need to tell Leaf to log all exceptions/errors. You can do this simply by enabling the log.enabled configuration option.
app()->config([
  'log.enabled' => true
]);You also need to tell Leaf which directory to save logs into. By default, Leaf saves logs in the logs directory in your app's root directory. You can change this by setting the log.dir configuration option:
app()->config([
  'log.enabled' => true,
  'log.dir' => __DIR__ . '/logs/'
]);All logs will be saved in a log.txt file in the directory you specify. You can also specify a custom log file name by setting the log.file configuration option:
app()->config([
  'log.enabled' => true,
  'log.dir' => __DIR__ . '/logs/',
  'log.file' => 'app.log'
]);Usage with Leaf MVC
If you are using Leaf MVC, the logger is already installed and configured for you, so you don't need to do anything. By default, Leaf MVC saves logs in the storage/logs directory in your app's root directory.
Whenever you run into an error or exception, Leaf will automatically log it for you, even if error reporting is disabled.
If you decide to disable logging for your app, you can simply get rid of the logger module by running:
leaf uninstall loggerThat's it! Leaf will no longer log errors or exceptions for your app.
Rescue Helper New
Leaf provides an elegant way to handle exceptions using the rescue() function. This function automically catches any exceptions thrown within the provided callback and logs them if logging is enabled, and then returns a default value. This way, you can use try-catch with a more inline syntax.
$someRiskyOperation = function () {
    // Code that may throw an exception
};

$someValue = rescue($someRiskyOperation, 'default value');In this example, if $someRiskyOperation() throws an exception, the rescue() function will catch it, log it if logging is enabled, and return 'default value' instead. This is particularly useful for handling operations that may fail, such as database queries or API calls, without having to write verbose try-catch blocks, and is still useful even when you don't have to return a value.
rescue(function() {
    // Code that may throw an exception
});In this case, if the callback throws an exception, it will be caught and logged if logging is enabled, and no visible error will be shown to the user. This is useful for important operations that you want to attempt, but don't want to disrupt the user experience if they fail. For example, sending an email notification or logging user activity.
Leaf DevTools BETA
Leaf provides DevTools to give you more insight into your app than you can get from the error page. It has a beautiful and intuitive interface that give you information about your Leaf application, and a light-weight library that you can use to interact with the devtools frontend.
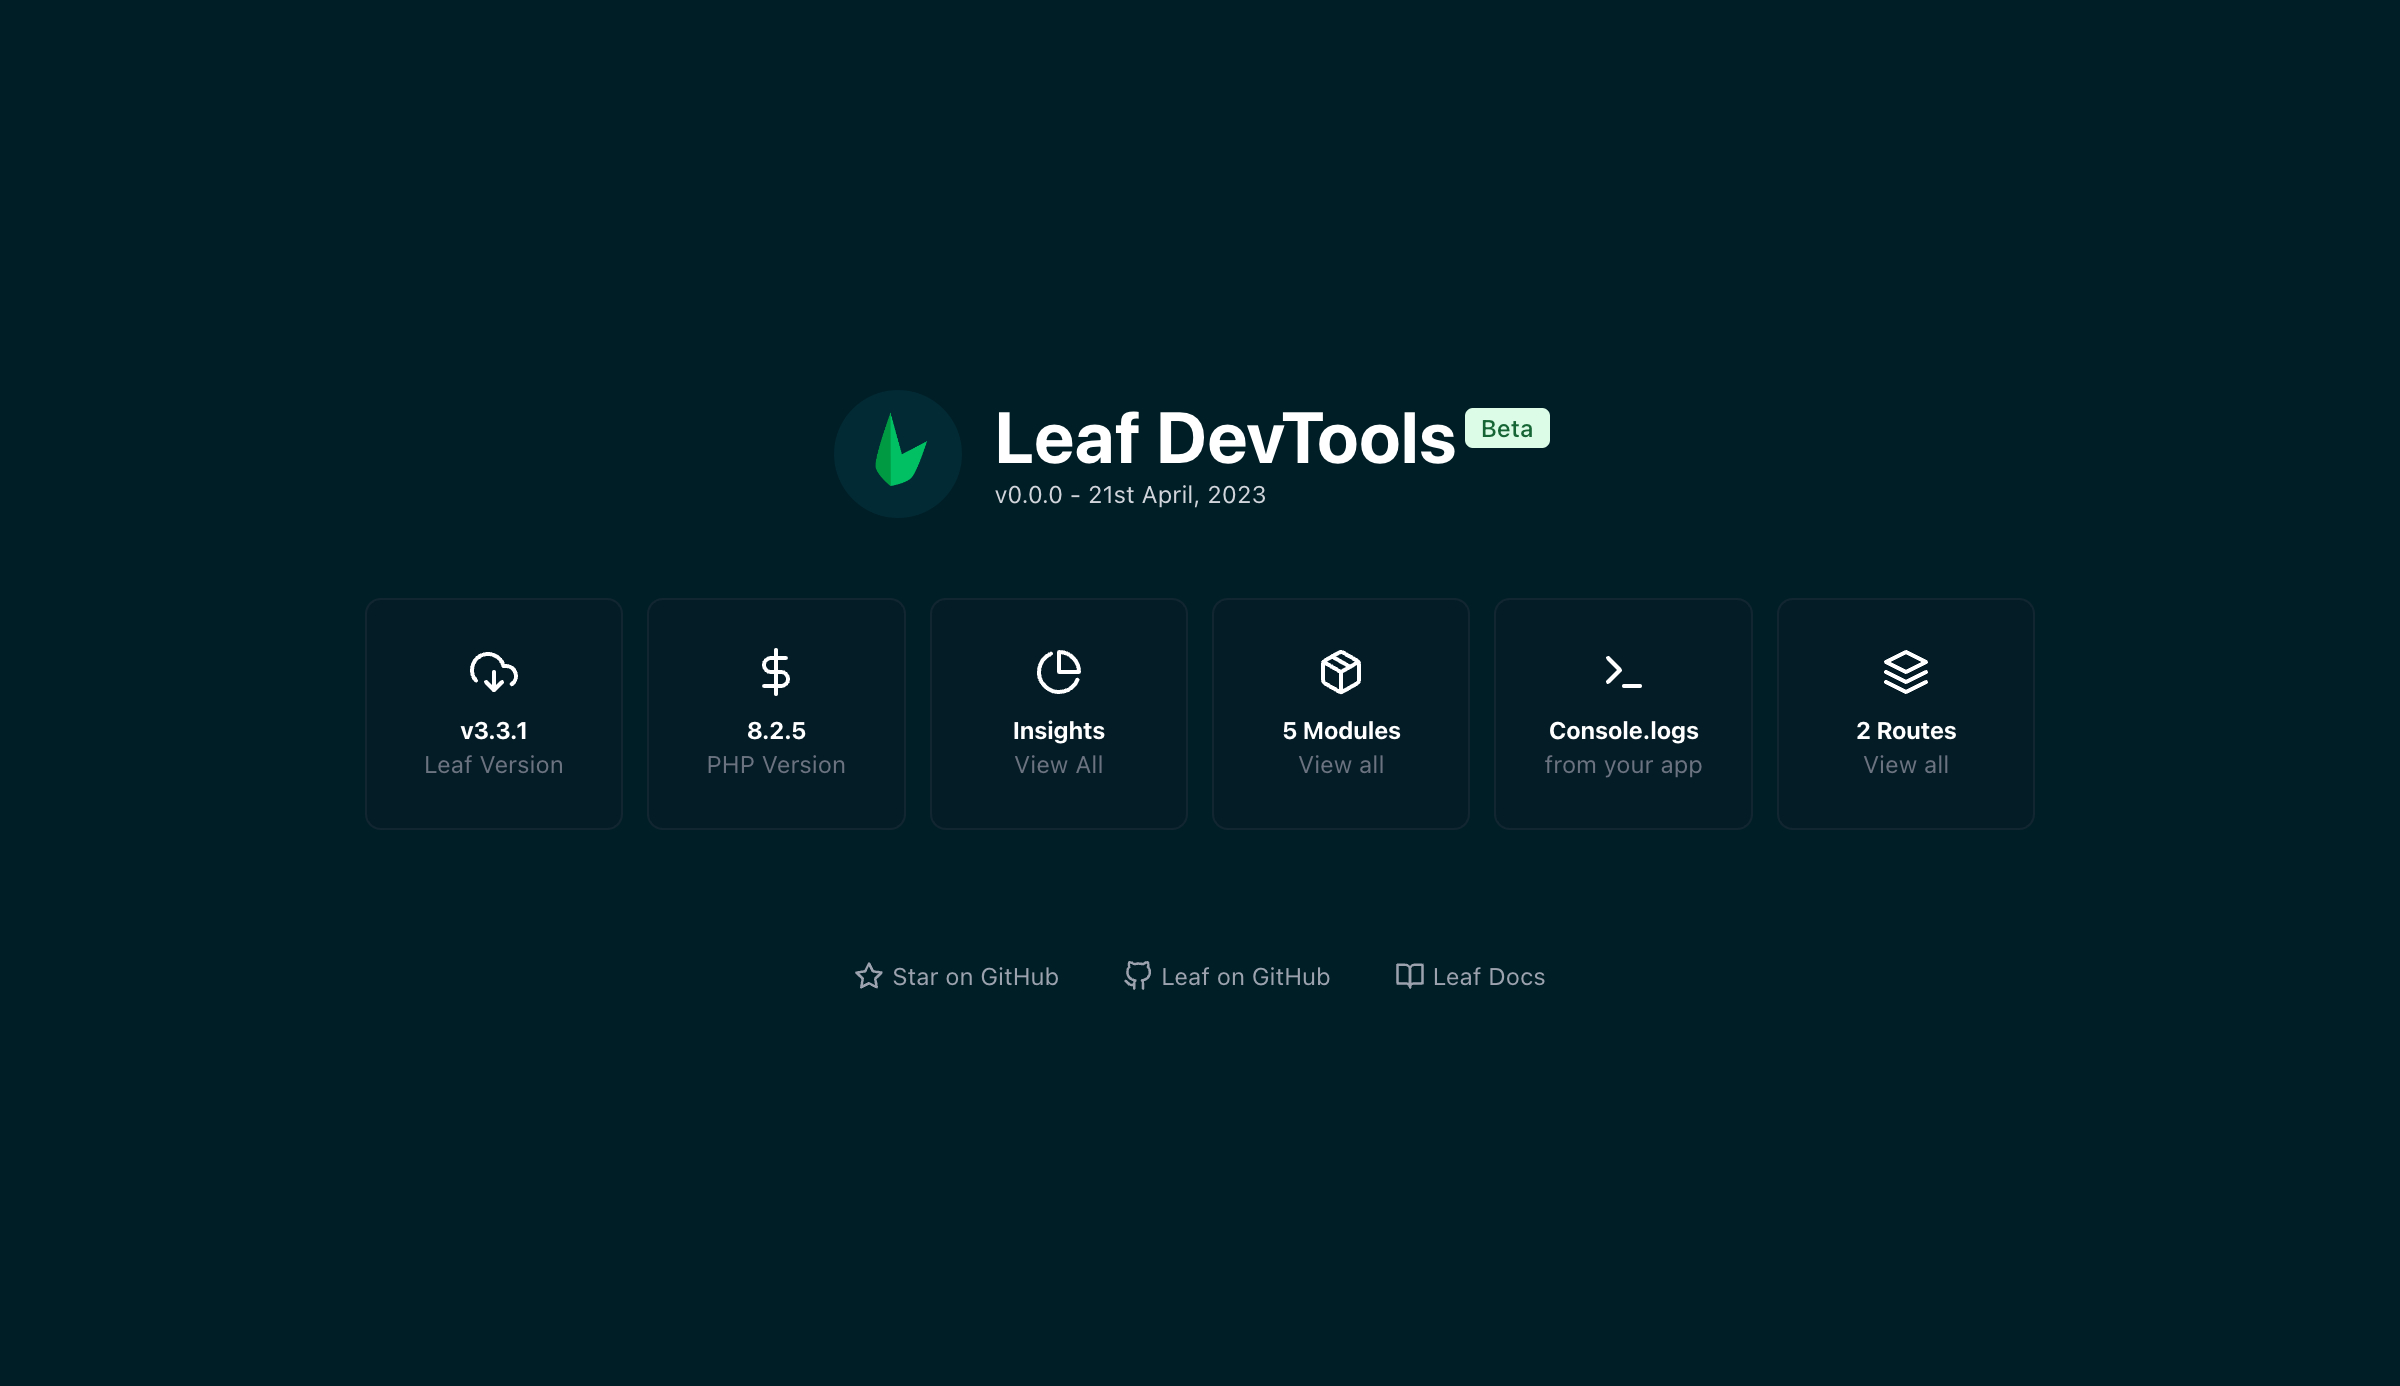
To get started with the DevTools, you need to install the Leaf DevTools module:
leaf install devtoolscomposer require leafs/devtoolsAfter installing the devtools module, you need to add the hook to your app. This will register the devtools routes and allow your Leaf app to communicate with the DevTools. You can do this by adding this line to your app root.
<?php

require __DIR__ . "/vendor/autoload.php";

\Leaf\DevTools::install();

...From there, you can access the DevTools by visiting <your-app-url>/leafDevTools. The DevTools will show you information about your app, like the routes, the request and response, and the environment variables. You can also use the DevTools to interact with your app, like making requests to your app and seeing the response.
Server Debug Logs
When working with JavaScript, you can use console.log to log information to the console. In PHP, you can use echo or var_dump to log information to the browser. However, this can be a bit cumbersome, especially when you're working with APIs or other server-side code. Leaf provides a log function that you can use to log information to the server. This is useful for debugging your app in a non-invaisive way.
\Leaf\DevTools::console('This data should be logged in the console');Adding this line to your code will log the data to the Leaf DevTools console without affecting the output of your app. This allows you to debug your app while going through the normal flow of your app.
\Leaf\DevTools::console('This data should be logged in the console');
\Leaf\DevTools::console('This is a warning', 'warn');
\Leaf\DevTools::console('This is an error', 'error');
\Leaf\DevTools::console('This is an info message', 'info');
\Leaf\DevTools::console('This is a debug message', 'log');These will output different colored messages in the console:
Leaf will only allow access to the DevTools when the app is in a development environment, but not every hosting provider sets the environment to production automatically. To be safe, we recommend uninstalling the DevTools module before deploying your app.
Maintenance Mode
There are times where you need to take your application down for maintenance. This may be due to updates or other external reasons. Putting your application in down mode will display a maintenance message to users, and prevent them from accessing your application.
You can enable down mode by setting the app.down configuration option to true.
app()->config([
  'app.down' => true
]);When your application is in down mode, Leaf will automatically load the down screen. You can customize this screen using Leaf's setDown() method.
app()->setDown(function () {
  echo 'Custom Down Handler!';
});You can use this method to display a custom html page or any other content you want to show users when your application is in down mode.
app()->setDown(function () {
  response()->page('./down.html');
});